
Top 10 Food Photograhy Tips
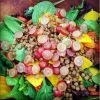
Google AdsFamed French food blogger, Pascale Weeks has decided to reveal her top 10 tips to taking stellar food photos in any kitchen. If you are looking to improve your photos on your blog, take a look at these handy tips below!
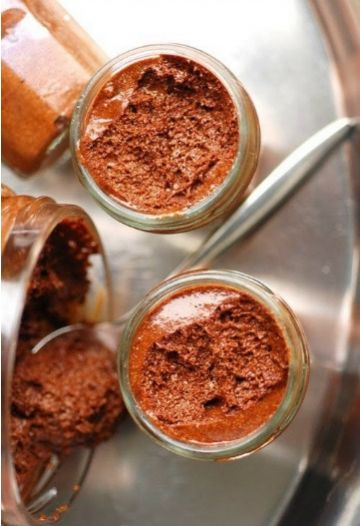
Photo credit: Dorian Nieto
Truly capturing your culinary masterpiece or restaurant dish is not easy. You only need to scroll through social networking sites like Instagram to realise this.
Far from being a professional food photographer, Pascale Weeks has over the years, learnt some simple tricks which have helped to improve her snaps of her culinary creations without requiring a professional camera with all the gadgets! When it comes to cameras, patience is indeed a virtue, but thanks to these tips, you'll be surprised how good your dish will look!
Tip# 1: Use natural light
Unless you have professional lighting equipment or have mastered your camera's white balance, don’t waste your time and over complicate the process! Find a light corner by a window, where the most natural light shines through for optimum lighting!
Tip# 2: Take pictures in the morning
Light is much easier to handle in the morning: there are less shadows and the light is much softer.
If you must take a photo in the afternoon, closely look at what you’re about to photograph, and properly position both the subject and your body to avoid shadows on your plate as much as possible.
Some photographers use shadows to their advantage, and even though the result can be beautiful, it’s a hard technique to master. There's nothing worse than a dark shadow masking your vibrant strawberry tart.
Tip#3: Find the ideal spot
To find your spot, try following Isabelle Rozenbaum’s advice and walk around your house with your plate and locate where the best lighting is. Depending on where you are and where the light is coming from, the contents of your plate can become more or less attractive.
If it’s a dark and gloomy day, get a stool, put a chopping board on it (or a piece of thick cardboard), place yourself in front of an open window, and you should be able to get the best light!
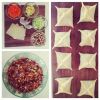
Tip# 4: Find some props
Select your props with care as some may look good on their own, but won't turn out well once photographed! Certain colours, textures and objects don't photograph well, so make you sure you know which ones work well with the subject you want to photograph.
Experiment with different bowls, plates and backgrounds and find the ones that work well for you!
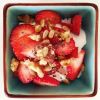
Tip# 5: Make your food look apetising!
 |
Don't spend too much time trying to take a beautiful photo by positioning the plate against a flowery background, adding ribbons, herbs, flowers, etc.
Make the food look mouth-watering by showing the textures, and highlighting the ingredients of your dish instead. |
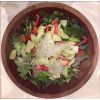
Tip# 6: Avoid large plates and small glasses
Taking a photo of a large plate or dish is perilous. Remember this before you take the picture. Prefer a medium sized bowl or serving dish so your food is proportionately positioned in the picture.
When photographing glass containers be careful of reflections, streaks of food on the side of the glass, and you'll probably find that the food doesn't look "inviting". Some desserts are easier to shoot if they’re presented in a bowl instead.
Regarding drinks, like smoothies or cocktails, photograph them from above for a better angle.
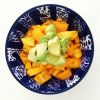
Tip# 7: Keep it simple
Keep it as simple as possible! Take a wide-shot of the contents of the plate while trying to maximise the focus on the colours and textures.
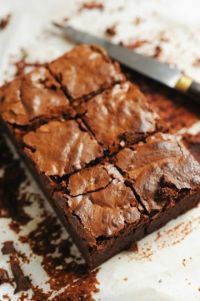
Tip# 8: Give it life
Cut your cake, take a slice and take a bite, leave some crumbs on your plate, and put a spoon in your custard. This will inject life into your photos, will make them look more appealing and more appetising.
Tip #9: Get some height
 |
 |
 |
 |
 |
Put your plate on the floor, or climb on a chair to get some height. Photos taken from a distance will showcase your dish more than if they were taken too close to the food!
Tip# 10: Restaurant pictures
We are often tempted to take photos of the dishes we're served when dining out. The lighting is hard to master and the dish may look dull. A must is turn off the flash on your smartphone. Find the right angle by inclining your smartphone in order to find the maximum amount of light, while constantly checking that you are focused on the screen.
If your photos still aren’t up scratch, then stand up and take your photo from above. Try to do this as discreetly and as quickly as possible, to avoid strange looks from other customers!
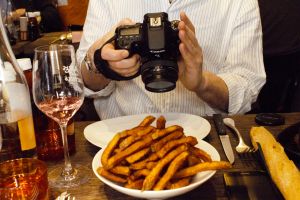 |
Photo: Mr David Lebovitz snapping his chips during his Gourmandize Interview
And a final tip from Lydia Lane, our editorial manager over at Gourmandize US:
If you are still not quite satisfied or got the knack yet after trying Pascale's tips, there is always Instagram!
Edit your photo using the different settings and choose the one that best suits your dish. Because, I quote "Instagram is like looking at life through rose coloured glasses!" - thanks for the extra tip Lydia!
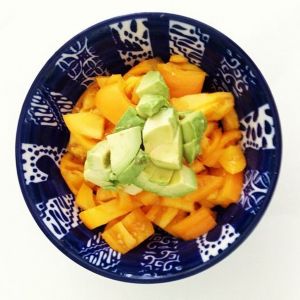
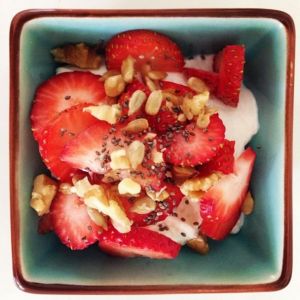
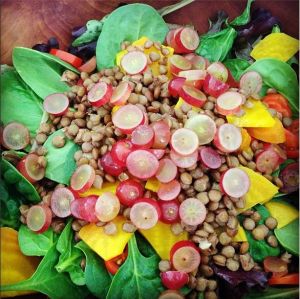

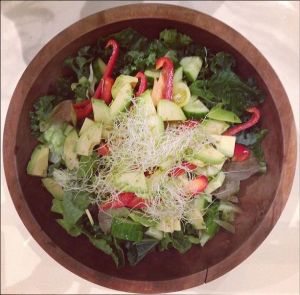
Photo credits: Lydia Lane, Instagram GourmandizeUS, www.gourmandize.com
Comment on this article